
If you have ever used Primavera P6, you would be surprised that exporting from Microsoft Project to Microsoft Excel does not provide you with a ready to be used data considering that both products are from the Royal House of Microsoft.
In Primavera P6, exports to Excel come formatted as an Excel Table for any data analysis you might want to carryout but with Microsoft Project, you still need to format the Excel properly prior to any Excel Table data analysis.
To export in Primavera, right-click anywhere in the Activity Table and click Export to Excel and save the Excel file.
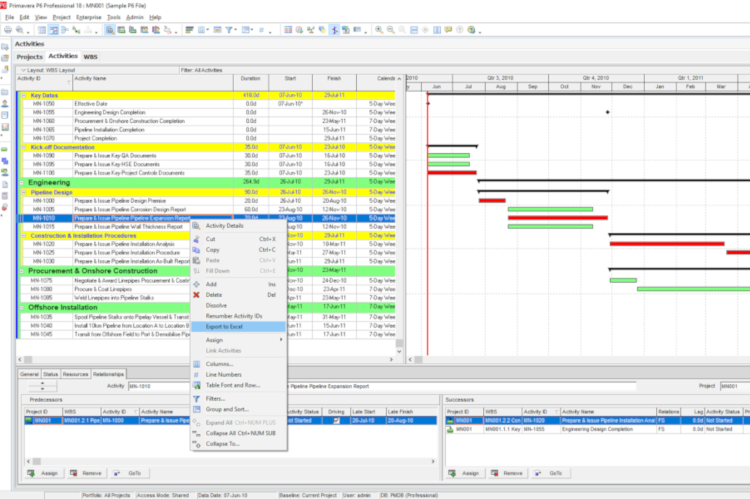
And the newly created Excel file looks like a proper Excel Table as shown below.

Unfortunately Microsoft Project does not have the option to right-click and export to Excel.
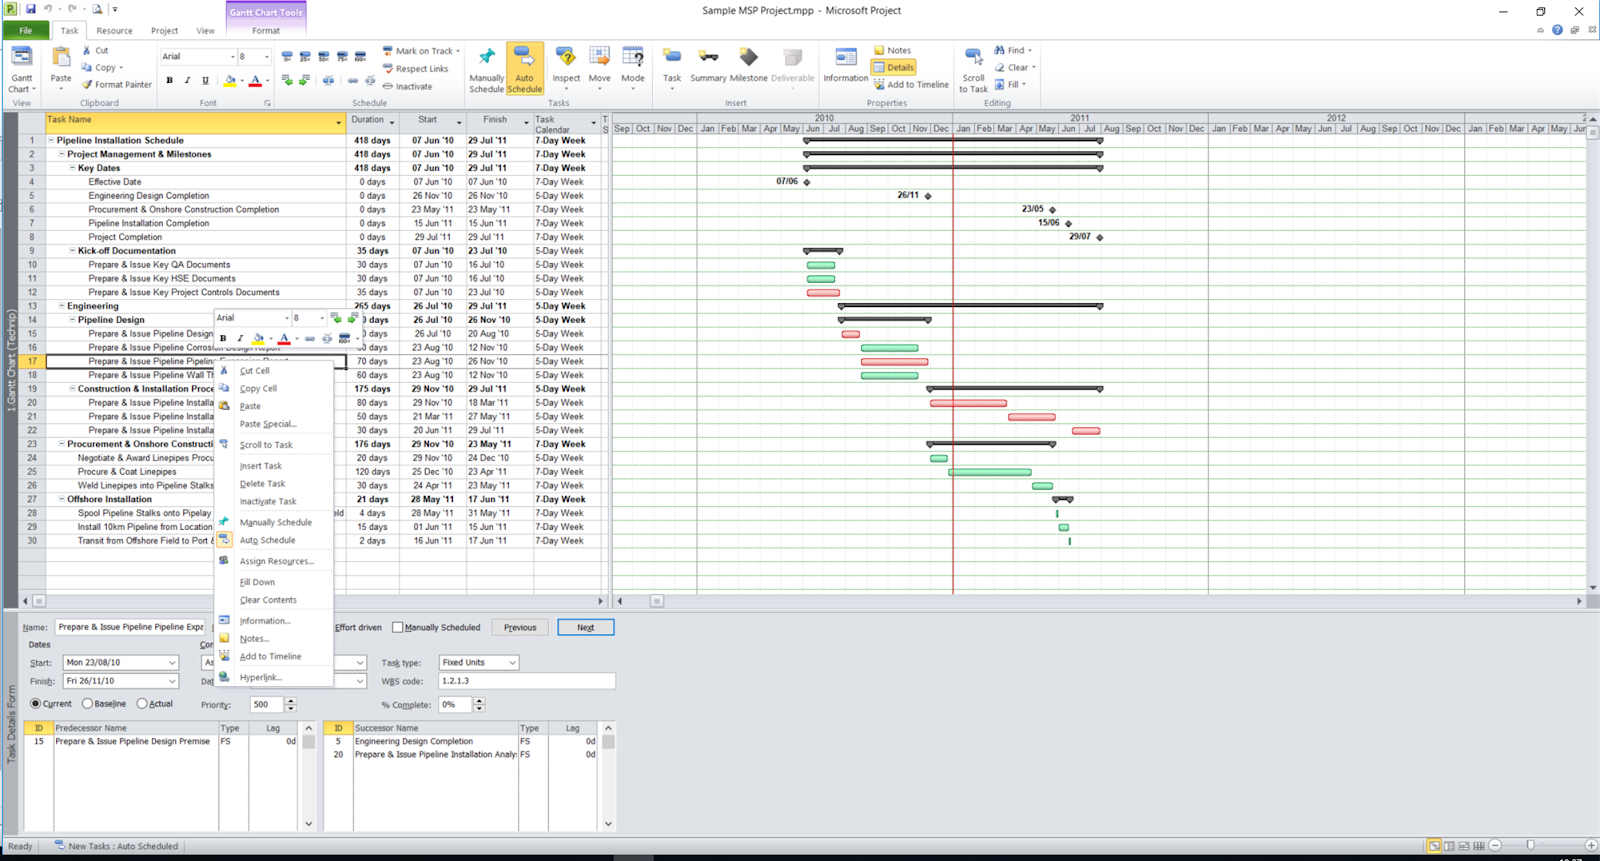
To export to Excel in Microsoft Project, go to File >> Save as and from the Save as type dropdown box, select Excel Workbook(*.xlsx) and then click on Save button.

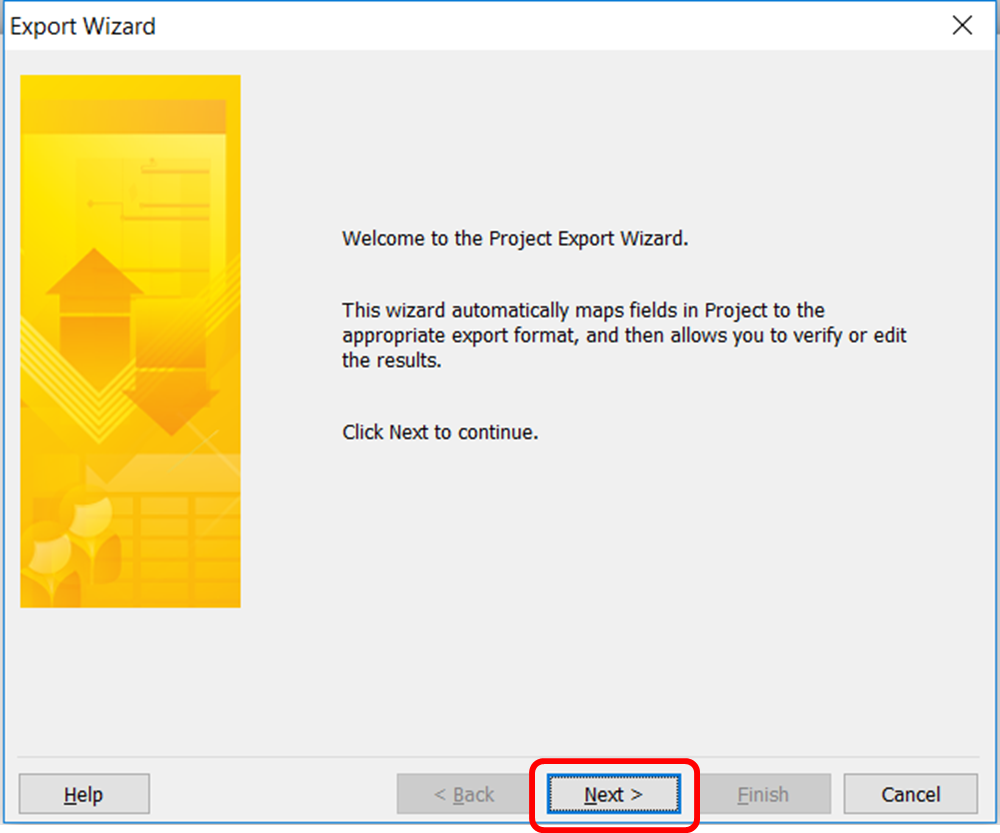
In the Export Wizard dialog box, click Next
And in the Export Wizard - Data dialog box, tick Selected Data option and then click Next

In the Export Wizard - Map dialog box, tick New map and then click Next.

Just like Primavera P6, Microsoft Project also allows export of Tasks, Resources and Resource Assignments but in this tutorial we are only going to export Tasks. In the Export Wizard - Map Options dialog box, tick Tasks and Export includes headers then click Next.

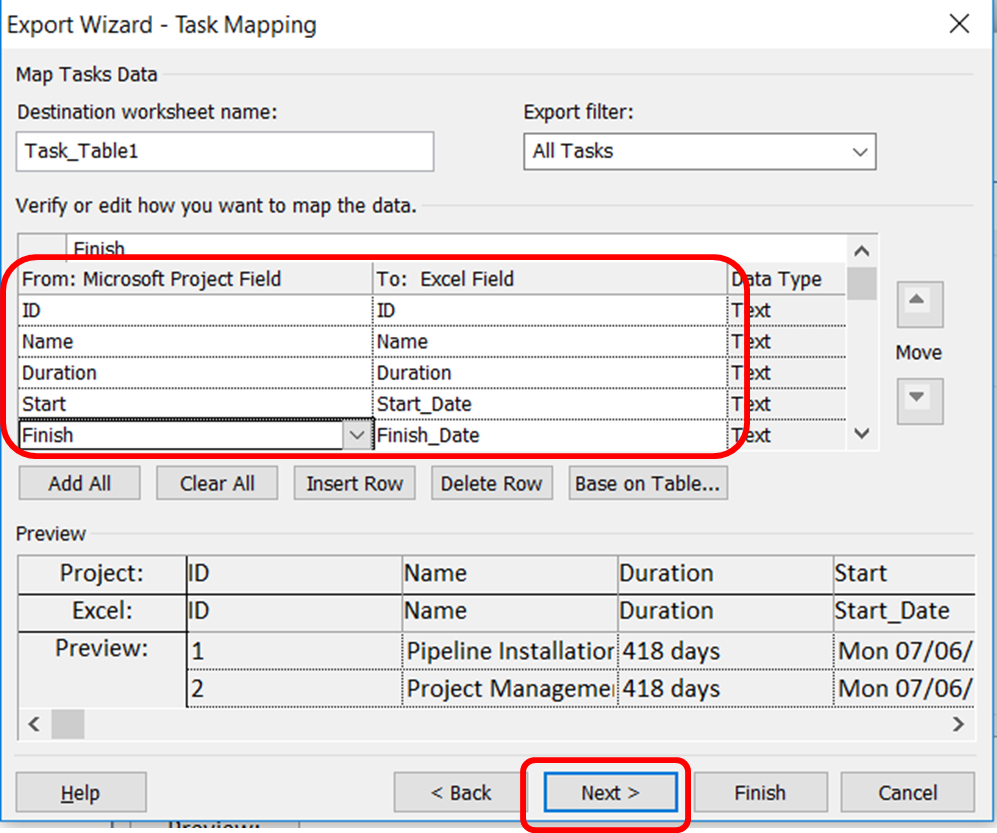
In the Export Wizard - Task Mapping dialog box, you will see a message (click here to map a field)

Now, click and add the fields you would like to export to Excel. You would notice that as you add fields to the left column (From: Microsoft Project Field), the same fields are automatically added to the right column (To: Excel Field). In this example, I have added ID, Name, Duration, Start, Finish,Task Calendar and Summary fields (the reason for adding the Summary field will become clearer later). When you are done adding fields, click Next.
In the Export Wizard - End of Map Definition dialog, click Save Map so that so that we can reuse the map for future exports of Tasks.


Now open the newly created Excel file and you will immediately notice that Activity Headings (called Summary Activities in Microsoft Project), which are used to group activities are also added as activities (see rows with Yes under Summary column) in the export unlike in Primavera P6 where these Activity Headings (WBS Codes) are added as attributes of activities when exported to Excel.

Enable filter in Excel and filter the Summary column for Yes

Now delete all the visible rows (where Summary is Yes) so that when you remove the filter, you are left with only activities and no Activity Headings

You would notice that the data in Duration column also includes the unit of duration, days (this is another peeve of mine) which still prevents us from using this export for analysis therefore we need to remove days from the Duration column. Select the Duration column and use Excel's Find & Replace feature to remove days from this column, leaving us with an Excel Table ready for use in data analysis.

This post was previously published on https://www.plannersplace.com/blog/how-to-export-microsoft-project-data-to-excel-for-analysis